More Holiday themed manicures! I love this color, I used Emerald city from Sally Hansen as a base. I'd been looking for something like this for a while. I really like Sally Hansen Xtreme Wear, I like their long brushes and their highly pigmented, easy to apply formulas. This nail polish was no exception, almost opaque in 1 coat, perfect in 2 coats.
Showing posts with label Stamping. Show all posts
Tuesday, December 14, 2010
Thursday, December 2, 2010
LiLo's "F- you" Court Manicure!!
Boy, was I excited to recreate this one! Lindsay Lohan may be lots of things, but somehow I always like what she's wearing, or how she looks. For her court date back in July, she opted for a super girly and cute, airbrushed pastel manicure with a very naughty hidden message: "fuck u" written right in the middle fingernail. How passive-agressive! Here's how I did it:
Start with clean, short nails, buff them and use a base coat (I always use OPI).
Then, apply the nail polish with a sponge. I used an old eyeshadow applicator, because i'm on a budget here! But you can get a fancy one from Konad (I want it!), or one of those foamy makeup applicators.
![]() |
| What I used |
![]() |
| After sponging. We'll clean up later! |
Drip 2 or 3 drops of nail polish on a flat surface (I did it on an old plastic tray somebody gave me and I never ever use), Dip your sponge in it and apply to your nail in a taping motion, just little dabs here and there. You have to leave room for at least 3 colors. Repeat this step with every polish for a multicolored effect. It's ok if you don't completely cover your nail. I think Lindsay's show a bit of natural nail down the middle.
Next, we are going to stamp our nails with the leopard print on Konad's image plate m57. I didn't want the print to be that blunt, so I used a regular nail polish instead of the Special one for a soft, almost ethereal look. You can also use a nail art pen or an art brush and do this step freehand.
Finally, you can write an offensive message of your own, or copy Lohan's infamous words. Use a nail art pen, or a Sharpie for this step. I skipped it, I thought it wasn't office appropiate, LOL. Seal your design with 1 or 2 coats of your favorite top coat.
![]() |
| Lindsay Lohan |
I think my design looks a lot like Lindsay's, and I really like it on her, but I just don't know how to feel about it. I'm not sure the color combination looks good with my skin tone, but still got some compliments :)
I used Sally Hansen Xtreme Wear in Blue Me Away, Bubblegum Pink and Sun Kissed (toned done with a few drops of white). For the white leopard print I used NYC French White Tip.
Saturday, November 27, 2010
A sea of purple
This look was a little bit more complicated than what I usualy do but I will explain it step by step.
I used Sally Hansen's Deep Purple from their Xtreme Wear collection as a base. Like most of their polishes, it was very easy to apply, smooth, and opaque in 2 coats.
We are going to apply a tape diagonally to each finger and then use our base color to paint the nail.


Then, we are going to stamp our nail with a swirly design from image plate bm19 and a Silver Foil Nail Polish (Finger Paints Easel come, easel go). Remove the tape carefully and slowly to protect your design.
Apply silver glitter to the line that divides your design and your naked nail with a fine brush. I used Kiss Nail Art Paint in Silver Glitter. If you are shaky like me, you need to do this slowly so you can get a straight line. Finish it with a nice and glossy top coat, like Seche Vite.
![]() |
| After removing the tape |
![]() |
| Apply a thin line of silver glitter and voila! |
![]() |
| Nail Polishes that I used from start to finish! |
Thursday, November 25, 2010
The White Stripes
This was the easiest manicure ever. I really wanted to take off that fall manicure attempt that I had in my nails but didn't have much time, so I went for the easiest way out. I stamped the striped design on bm20 on my naked nails with White Konad Special Polish and topped it with 2 coats of good ol' Seche Vite. I was done in no time, and got a lot of compliments! The only thing that gave me a hard time, was trying to get the thumbs right, because Bundle Monster plates are TINY so if you have long nails, or fat thumbs like me, you'll have to get a little creative. I stamped twice, tried to make it as unnoticeable as possible and I think it looks alright. My husband said it reminded him of candy canes and that I should try it over red for Christmas… Well, maybe I will. Meanwhile I hope you like my lazy, fast and uncreative manicure as much as me.
Labels:
bm20,
Bundle Monster,
Fauxnad,
Konad,
Konad special polish,
nail art,
Stamping,
Stripes,
White
Tuesday, October 26, 2010
Electric Zebra!
This look was inspired by my friend Rosy McMichael's latest youtube video, who had to create an "Electric Zoo" makeup look for a contest. She has other great tutorials in her channel, you need to check it out. You can see her videos HERE.
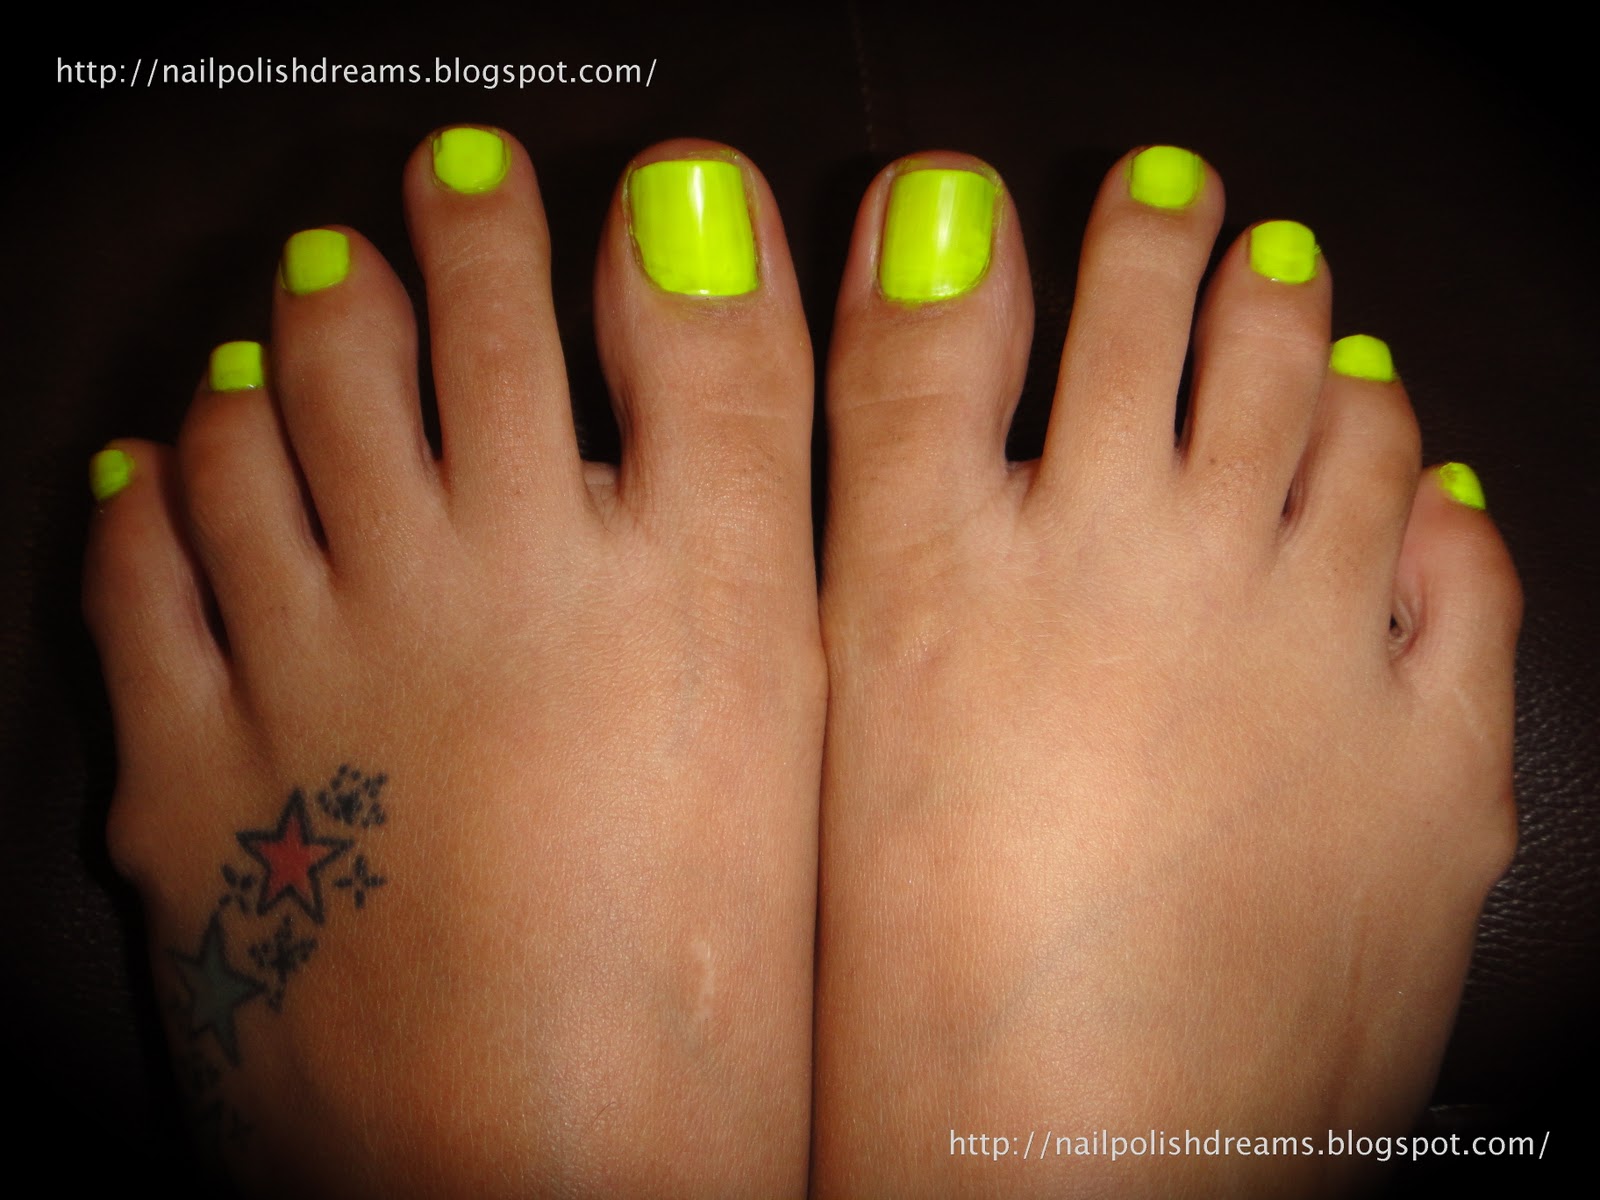
Now, I used my toes because my hands are still busy with the Incoco experiment thing, but PLEASE focus on the nails and not my actual feet (I don't really like the way my bones stick out from the sides and I'm not even going to address my scars...let's just say I'm a bit clumsy)
Anyways, I used Sinful Color's Neon Melon as a base. The best way to describe this color is "highlighter yellow". It even applies like a highlighter! You are going to need 3 or 4 coats because it's very thin, but it dries fast, so it's not such a hassle. Also, the color is very vibrant, so it is wort it. Like most neons, it has a semi-matte finish, but if you don't like it you can use a topcoat over it and that should solve your problem. This is how the nail polish looks after 4 coats, very streaky!
Now, the good part: adding the zebra design! This time, i'm going to use my Konad. For those of you who don't know, Konad is a nail stamping system that is very popular and inexpensive. You can get it on ebay. Konad also sells "special nail polish" to use with the stamping thingy and I must confess that I didn't believe this polish was really special at first, but then, when I actually started using it I realized that it makes it so much easier! If you're gonna go and buy the Konad, I highly recommend that you buy the special nail polish as well. You can also use your own nail polish but not all of them work with it. You need to experiment with them.
So this is how Konad works: You get an metal disc (image plate) of your choice, that contains about 5 different nail designs; once you choose your design, you brush a little nail polish in it, then you scrape the excess off. Then, with a special stamp, you pick up the design and stamp it in your nail. Sounds easy? That's because it is. You just need a little bit of practice to learn how to do this fast, because you need to act before the nail polish dries.
After stamping in your nail, this is how it looks, VERY messy! Don't worry, we'll clean that later, when all the nails are done and everything is dry. See how messy mine look?
Now, this is the final result. Very simple, but I think the base color is already making a statement, and truth be told, I'm a bit lazy today :)
I used an OPI base coat , Sinful Colors Neon Melon as a base, Konad Special Nail Polish in Black for the zebra design, and Seche Vite as a top coat. When using Konad you absolutely canNOT skip this part. You need a good top coat that doesn't drag the nail polish, and you need to apply it with as few brush strokes as possible to protect the design. Seche Vite always does the trick for me, I adore it!
That is all for today, I'll try to post very often, and if there's anything that you guys wanna see let me know! I can always use a little inspiration...
Labels:
Konad,
nail art,
Neon Melon,
Sinful Colors,
Stamping,
Zebra
Subscribe to:
Posts (Atom)