Showing posts with label nail art. Show all posts

Thursday, January 13, 2011

Sophy Robson inspired nails: Dripping tips


Lately I've been totally obsessed with Sophy Robson's blog.  Robson is the "Nail Queen" of London, and her designs are just amazing.  She's known for doing the nails for a lot of designers on fashion week runways and a whole bunch of Vogue covers as well.  She is a trendsetter, and an inspiration.  You can check out her blog HERE.

This look is inspired by one of her designs, the "blood dripping" nails.  I used China Glaze's For Audry, and Finger Paints' Black Expressionism for the tips.  I used my dotter tool for the dripping and I just started drawing random patterns, and a dot here and there.  With the same dotter tool, I finished off the whole tip.  I thought about using the polishes' own brush, but I decided on the dotter tool because I thought I'd give the tips more dimension, and I was right.
I waited for it to dry a little bit before applying my top coat because I didn't want my colors to run or mix.

This is the final product, I hope you like it. 

Thursday, January 6, 2011

Nail Fraud: Disco

I have another Nail Fraud post, and this will be my last one, because i'm out of decals, but I think I saved the best for last.  I have to say that this is my favorite print from the 3 sets that I got.  The design looks amazing, but I do have one big fat complaint, though.  This set was very different from the others.  The other decal's presentation was very similar to the Incoco appliques, they have a protective film on top, and they apply better, they kind of bend to match the shape of your nail.  But this ones really just look and feel like plane ol' stickers! They do not have a protective film and they are very hard to match the shape and curves of the nail, they feel kind of stiff on the nail. Also, they didn't came inside a sealed package.  On the other appliques, if you are left with wrinkles on them, they often disappear the next day (I think heat helps with this), but not with Disco.  I applied them yesterday and I still have stiff wrinkles towards the free end of my nails (and I don't think they are disappearing any time soon!).  Also, the print seems very fragile, like any little scratch is going to damage it, so I applied a thick coat of a glossy top coat over it.  In the end, the result looks pretty cool, because this design is amazing and colorful, so I am happy with how my nails ended up.  See for yourself. Click on the pics to make them bigger.

Hold decal with thumb and index, apply close to the cuticles. If you mess up, gently remove the decal and reapply

File off excess with nail file (Nail fraud includes this cool nail file!)

Final result! See the gloss? I used OPI's top coat

This is NF's Goldfinger sealed package, with a holding strip and protective film over decals

This is how Disco looks in the package, very different! It lacks all those cool extras that the other designs have!

Friday, December 3, 2010

What's new in my stash

Hey there! I just wanted to share the polishes that I've bought lately and haven't used yet. 

Konad Special Polishes in Green and Dark Purple.
They are much darker IRL
OPI in Tease-y does it and Simmer & Shimmer,
from their new Burlesque collection

SH Xtreme Wear in Red Carpet and Emerald City. SH nail art pen in White.
I wish you could see the tiny glitter on RC, it's beautiful!
Icing- Sparkle me Happy, Icing-Bedazzled, Unnamed Orange Glitter from Hot Topic,
CG Boundless Color - Amethyst Mist and NYC In a New York Color Minute - East Village 

I saved the best for last… China Glaze - Party Hearty from their Holiday 2010 collection

I would love to hear about your recent buys or favorite picks.

Thursday, November 25, 2010

The White Stripes


This was the easiest manicure ever.  I really wanted to take off that fall manicure attempt that I had in my nails but didn't have much time, so I went for the easiest way out.  I stamped the striped design on bm20 on my naked nails with White Konad Special Polish and topped it with 2 coats of good ol' Seche Vite. I was done in no time, and got a lot of compliments!  The only thing that gave me a hard time, was  trying to get the thumbs right, because Bundle Monster plates are TINY so if you have long nails, or fat thumbs like me, you'll have to get a little creative.  I stamped twice, tried to make it as unnoticeable as possible and I think it looks alright. My husband said it reminded him of candy canes and that I should try it over red for Christmas… Well, maybe I will.  Meanwhile I hope you like my lazy, fast and uncreative manicure as much as me. 

Fall


Sorry for the delay between posts, there's been TOO MUCH stuff going on in my life, but I am pretty sure you're not reading this blog to hear that, but to see some manicures… On with the nails!
I wanted to do a Fall or Thanksgiving inspired manicure but wasn't feeling so creative.  Also, I had just received some faux Konad image plates (Bundle Monster, 21 plates for 17 bucks) and I wanted to try them out.  
As a base, I used Sally Hansen Laquer Shine in Glossy. A-ma-zing shade!  I've had this for a long time but I forgot about it, and trust me, Im glad I found it! It has the most perfect goldish burgundy shimmer to it. Once the light hits this baby, it just comes alive. 
On top of it, I randomly stamped some leaves with Orly Luxe and White Konad Special Polish.
This is the final result.  I didn't really like it that much, I think it came out a bit matronly. 
I hope you guys have a great Thanksgiving!

The final result
Sally Hansen Glossy.  Can you see the shimmer?


Friday, November 5, 2010

I read the news today, oh boy

It's been a few days since my last manicure, and I do apologize for the delay.  This time I'm going to try a newspaper print manicure.  This one didn't came out as I wanted, I should have used a lighter shade of grey or an off-white, it just looked different in my head.  But I ran out of nail polish remover, so I'm stuck with it. Anyways, if you decide to recreate this look, I strongly recommend that you use a lighter base color (like Sally Hansen's Lavender Cloud).

I used Sally Hansen's "Wet Cement" from their Xtreme Wear polishes.  I absolutely adore this color, it's a very rich and well pigmented creme.  I used 2 coats.

For the newspaper print, we are going to use some kind of alcohol: rubbing, drinking, the one you have in your home already (for me, it was vodka), and pour a little bit into a small container.  It should be enough to dip your nails in it.  Cut squares of newspaper big enough to cover your whole nail, and set them aside.  Dip your fingernail in the alcohol, and then grab a square of newspaper and press it against your nail.  Try not to move the newspaper because you will get a smudged print.  You need to leave the paper long enough to get a good print, but if you leave it too long the newspaper will stick to your nail.  Use a top coat to protect your mani and to give it a glossy finish.

If there's anything that you guys would like me to try out, please let me know!


Here's what I used for the newspaper print


Tuesday, October 26, 2010

Electric Zebra!

This look was inspired by my friend Rosy McMichael's latest youtube video, who had to create an "Electric Zoo" makeup look for a contest.  She has other great tutorials in her channel, you need to check it out.  You can see her videos HERE.
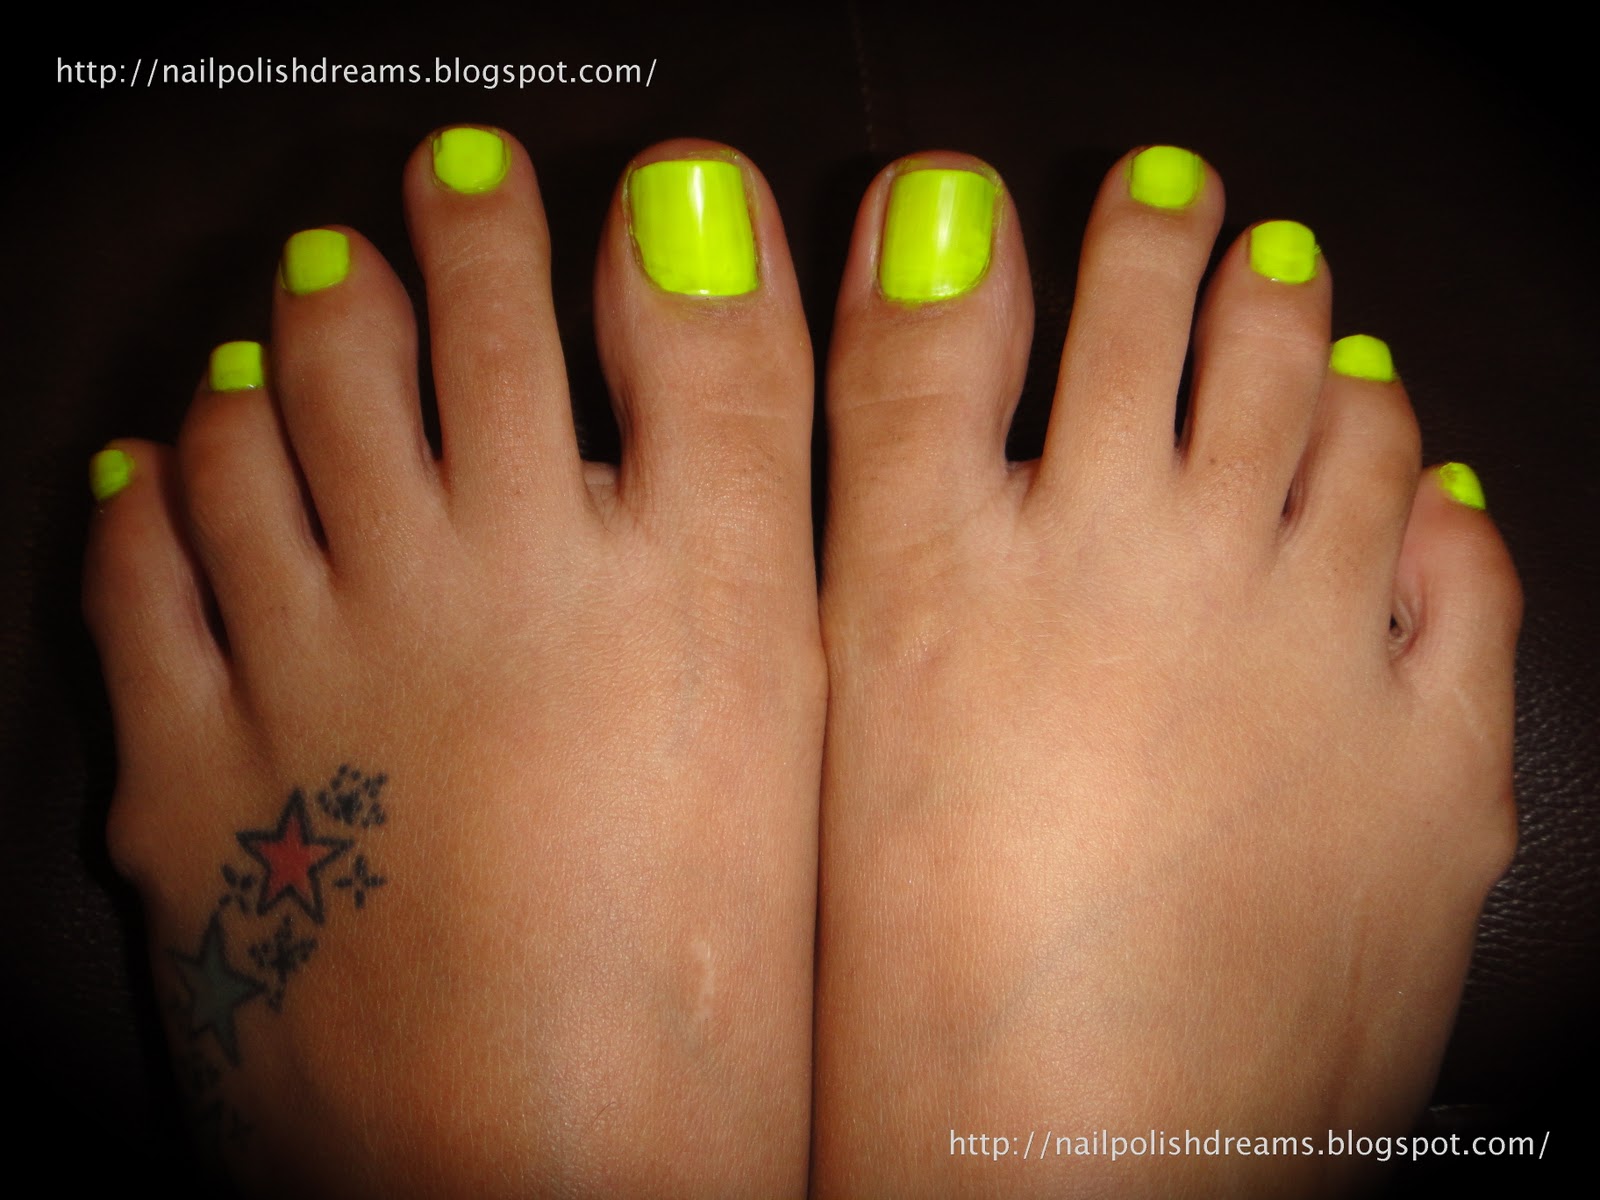
Now, I used my toes because my hands are still busy with the Incoco experiment thing, but PLEASE focus on the nails and not my actual feet (I don't really like the way my bones stick out from the sides and I'm not even going to address my scars...let's just say I'm a bit clumsy)
Anyways, I used Sinful Color's Neon Melon as a base.  The best way to describe this color is "highlighter yellow". It even applies like a highlighter! You are going to need 3 or 4 coats because it's very thin, but it dries fast, so it's not such a hassle.  Also, the color is very vibrant, so it is wort it.  Like most neons, it has a semi-matte finish, but if you don't like it you can use a topcoat over it and that should solve your problem. This is how the nail polish looks after 4 coats, very streaky!


Now, the good part: adding the zebra design!  This time, i'm going to use my Konad.  For those of you who don't know, Konad is a nail stamping system that is very popular and inexpensive. You can get it on ebay.  Konad also sells "special nail polish" to use with the stamping thingy and I must confess that I didn't believe this polish was really special at first, but then, when I actually started using it I realized that it makes it so much easier! If you're gonna go and buy the Konad, I highly recommend that you buy the special nail polish as well.  You can also use your own nail polish but not all of them work with it.  You need to experiment with them.


So this is how Konad works: You get an metal disc (image plate) of your choice, that contains about 5 different nail designs; once you choose your design, you brush a little nail polish in it, then you scrape the excess off.  Then, with a special stamp, you pick up the design and stamp it in your nail.  Sounds easy? That's because it is.  You just need a little bit of practice to learn how to do this fast, because you need to act before the nail polish dries.


After stamping in your nail, this is how it looks, VERY messy! Don't worry, we'll clean that later, when all the nails are done and everything is dry.  See how messy mine look?


Now, this is the final result.  Very simple, but I think the base color is already making a statement, and truth be told, I'm a bit lazy today :)


I used an OPI base coat , Sinful Colors Neon Melon as a base, Konad Special Nail Polish in Black for the zebra design, and Seche Vite as a top coat.  When using Konad you absolutely canNOT skip this part.  You need a good top coat that doesn't drag the nail polish, and you need to apply it with as few brush strokes as possible to protect the design.  Seche Vite always does the trick for me, I adore it!

That is all for today, I'll try to post very often, and if there's anything that you guys wanna see let me know! I can always use a little inspiration...

Monday, October 25, 2010

Polka Dot Mani

I sported this manicure last week and got a few compliments, so I decided to recreate it here...
I got the inspiration a couple of weeks ago, as I was standing in line in H&M. They had some posters in the cashier area and the models had something very similar on their nails.
For this one, I used Sally Hansen Complete Salon Manicure in Grey by Grey as a base, and Lavender Cloud for the dots.  I inverted the colors on the ring finger just for fun.
I used a dotter nail art tool for the dots.  You can buy it online, I think I saw them going for $3.00 in ebay, but if you guys can't get a hold of one, you can use stuff you have around your house like a toothpick, a bobby pin, or the fine point of a orange wood stick cuticle pusher.
It's a very easy way to spice up your nail polish, it looks great and it's inexpensive.
Now, the nail polishes... I ADORE both shades! They are super interesting and unique. What I don't like is the brush on these. It's rounded and thick, and it makes the application very difficult for me. The formula is awesome, almost opaque in one coat, but I always give it at least 2, just for peace of mind (I hate visible nail line).


Anyways, what do you think about it?  What other colors would look good together?